“What is that clay you’re pushing into?”
I hear this question multiple times a day and my eyes twinkle every time! The answer holds a story with a huge turning point in my mosaic life and I can anticipate the potential it has for yours too!
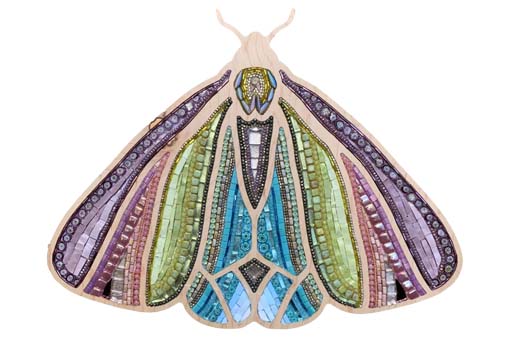
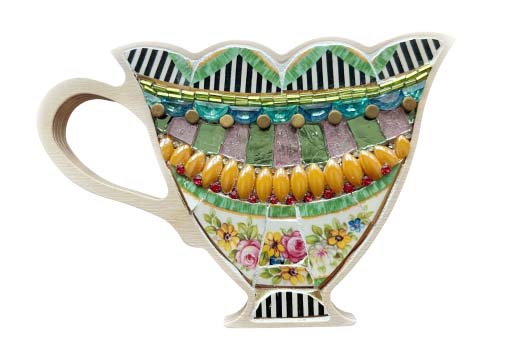
Back in 2006, I discovered what I now call my miracle adhesive. It opened up a whole new world of ideas and possibilities for my work. Suddenly, I could sculpt and place the tiniest beads while moving across dimensional curves with ease. No taping beads and tiles in place to prevent slipping or sliding.
It felt like magic.
That one discovery expanded what I believed was possible with my mosaic work and allowed me to work so much faster and more efficiently.
If you have been searching for the best adhesive for mosaics, especially for detailed, dimensional and beaded mosaic work, this may be the big gamechanger for you too.

Why I Believe Apoxie Clay Is the Best Adhesive for Mosaics
There are many adhesives in the mosaic world. Each has its place and strengths for various techniques and materials.
Apoxie Clay is different from the rest because it is not just an adhesive. It also allows you to sculpt and mold your surface as you work, building height in areas of your design and level out materials as you go.
Here is why I return to it again and again:
It Holds and Supports Like a Dream
Soft enough to mix with your hands yet very strong in its hold as it cures. Apoxie Clay allows you to gently press materials into place and trust they will stay. No sliding or slumping with instant results, what you see is what you get!
It Loves Detail
If you are working with tiny tesserae, delicate beads, rhinestones or intricate patterns, this is where it shines. It holds the finest details exactly where you place them.
It Becomes Part of Your Design
You can tint it, stamp it, paint it… You can shape it and even sculpt it into little accents. You can let it become the space between your pieces and act as a grout alternative. Skip the grout? Yes, we love that!
– Mix in liquid pigments like Mixol tints or india inks
– Blend in oil paint or even acrylic paint
The result is a soft, seamless, self-grouting effect that feels intentional and refined, saving delicate materials from getting lost in the grouting process.
It Gives You Time
With about 60 to 75 minutes of working time, you can mix just what you’ll need in that time and pace yourself throughout your project.
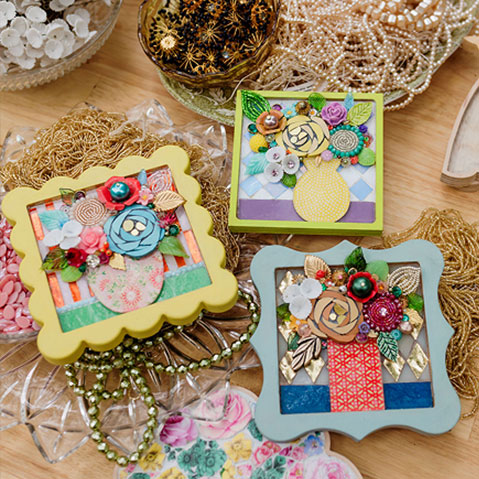
For my use, one pound of Apoxie Clay will cover approximately 3 of my full size mosaic frames.
It Endures
Apoxie Clay is waterproof and freeze-proof. I’ve even used it on birdbaths! It is made to last.
It Finishes Beautifully
With practice, silicone tools and finishing solution, you can smooth any texture and bumps from the surface. I like to start with a smooth bed of Apoxie Clay before pressing material in to make sure what shows between my pieces looks smooth and polished.
When Apoxie Is Not the Best Choice
For flat, level surfaces or heavier, chunky materials, simpler adhesives may serve you better. Apoxie Clay is best when used where movement, dimension, refinement and delicacy are needed.
A Few Tips
1) Mixing Takes Patience
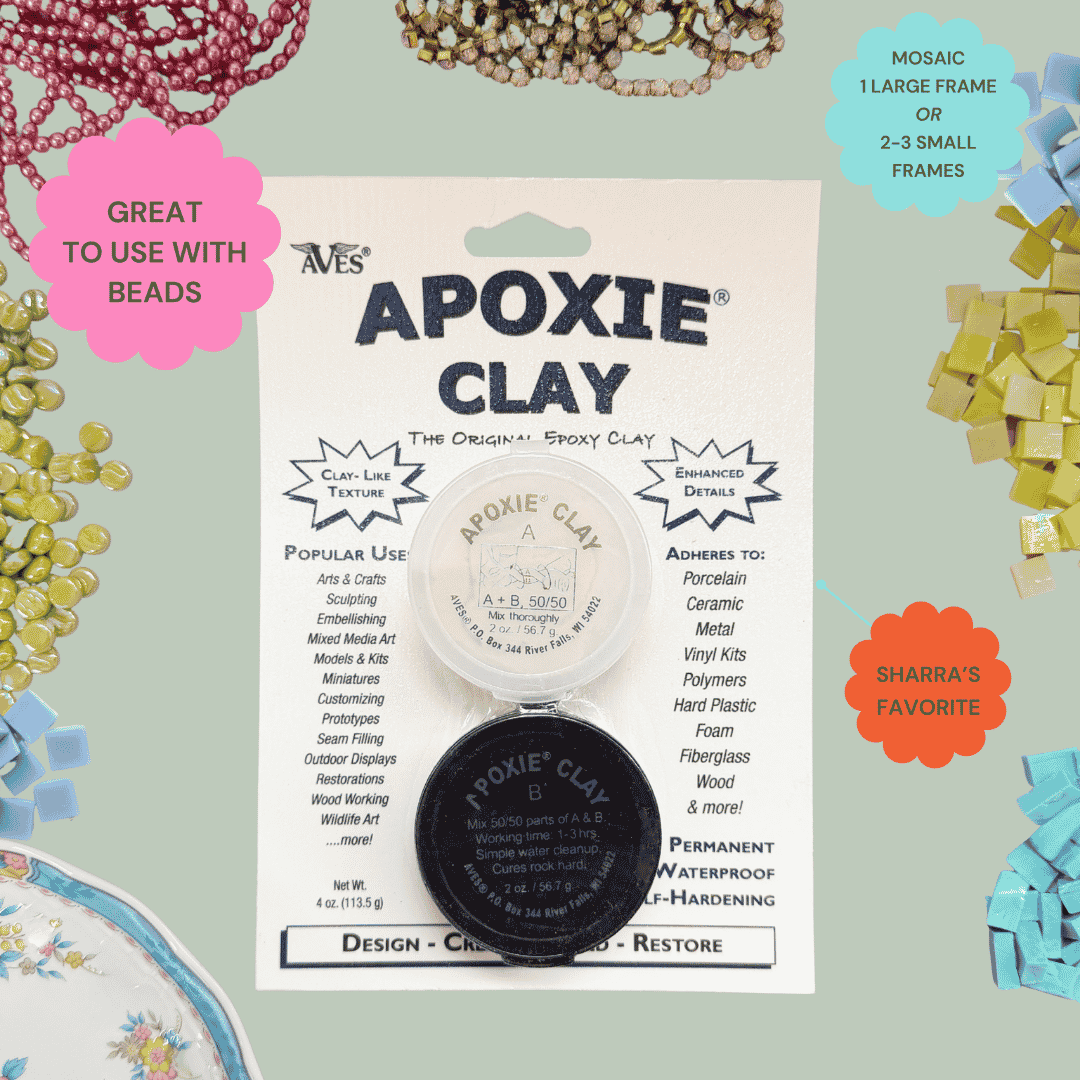
Part B can feel firm at first, Part A is softer. Take your time blending them together and make sure they a completely mixed so that you can not longer tell them apart. Mix until the two parts are blended fully. And always source from a reliable supplier with fresh inventory.
2) It Does Not Like to Sit Around
Over time, Part B can develop a yellow, crusty layer on the surface. It is not harmful but it is not ideal. I recommend ordering what you will use up within a few months.
3) It Is Forever
Once fully cured after about 24 hours, it is set. If you need to make a change later, you will be reaching for a Dremel or a chisel. Remember to remove any excess from your mosaic that isn’t going to be used.
How It Compares to Other Mosaic Adhesives
Over the years, I have worked with many adhesives.
– Weldbond
– Mac Glue
– E6000
– No-Days Adhesive
-Thinset Mortar
-Dimaond Glaze
-Aleene’s Tacky Glue
They each have their role and bring something useful to the table.
The best adhesive for the mosaic depends on the combination of materials, techniques, design and where the finished mosaic will be displayed.
For straight forward flat work, traditional adhesives like thinset and Weldbond work beautifully. For dimensional, expressive, intricate work, Apoxie Clay opens endless options. What I love most is the ability to tint it and integrate it visually into the piece. It is not just providing structural and adhesive support but also becomes part of the overal asethetic and design of the mosaic.
Often, I use more than one adhesive in a single piece and this is dependent on the combination of materials and design.
Experience the Magic for Yourself!
If you have ever opened some Apoxie Clay and thought This cannot be right! you are not alone… but it is exactly as it should be! I would love to show you how to work with Apoxie Clay and how to use it to it’s fullest potentional in our mixed media mosaic techniques.
Join me in my membership, and I will walk you through the process step-by-step so you can experience this creative transformation in your own work.
This is where things start to get really exciting (and addictive!).